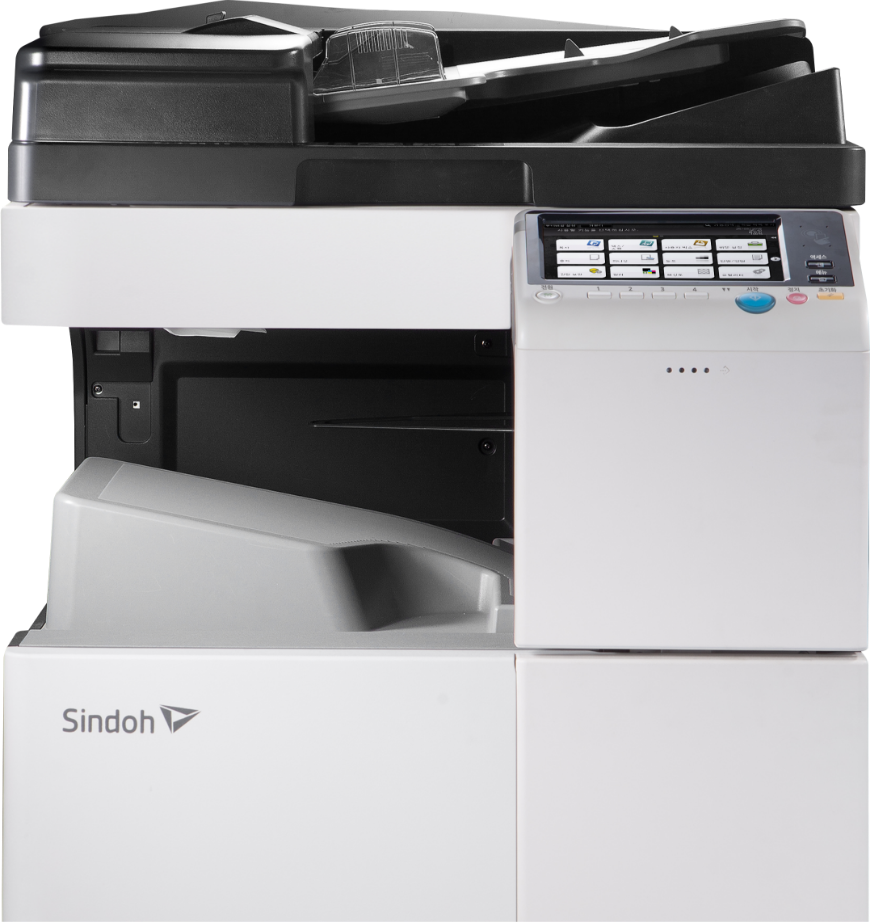
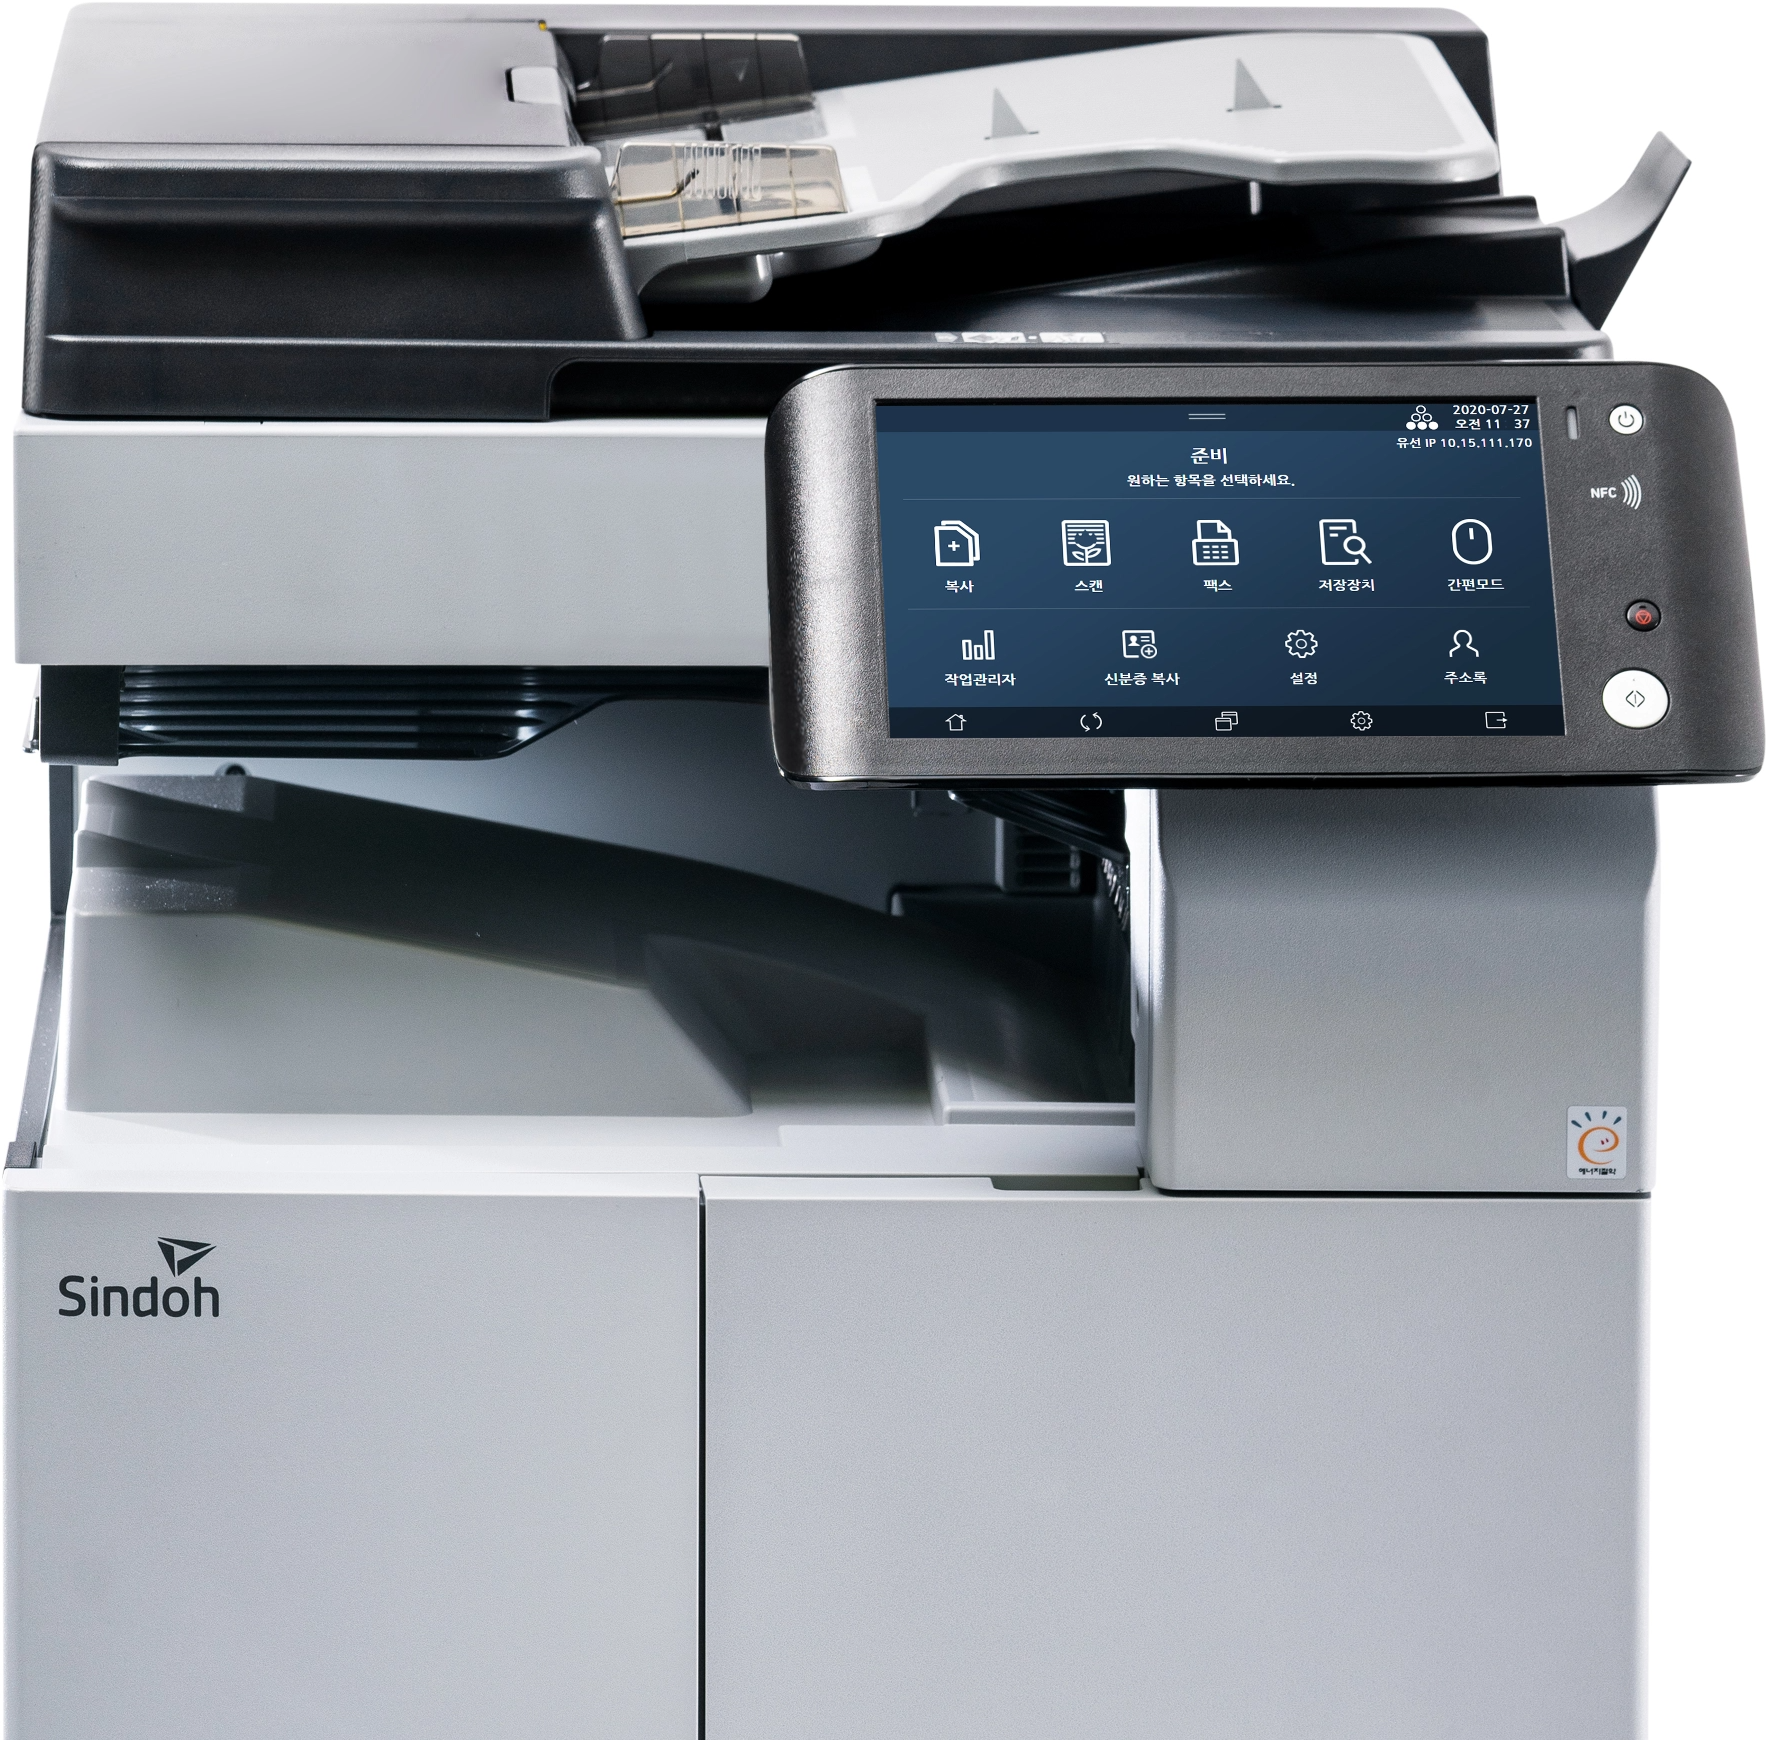
PRODUCT
N620
A3 흑백 디지털 복합기
우수한 출력품질과 내구성으로 업무효율을 높여주는 솔루션 복합기
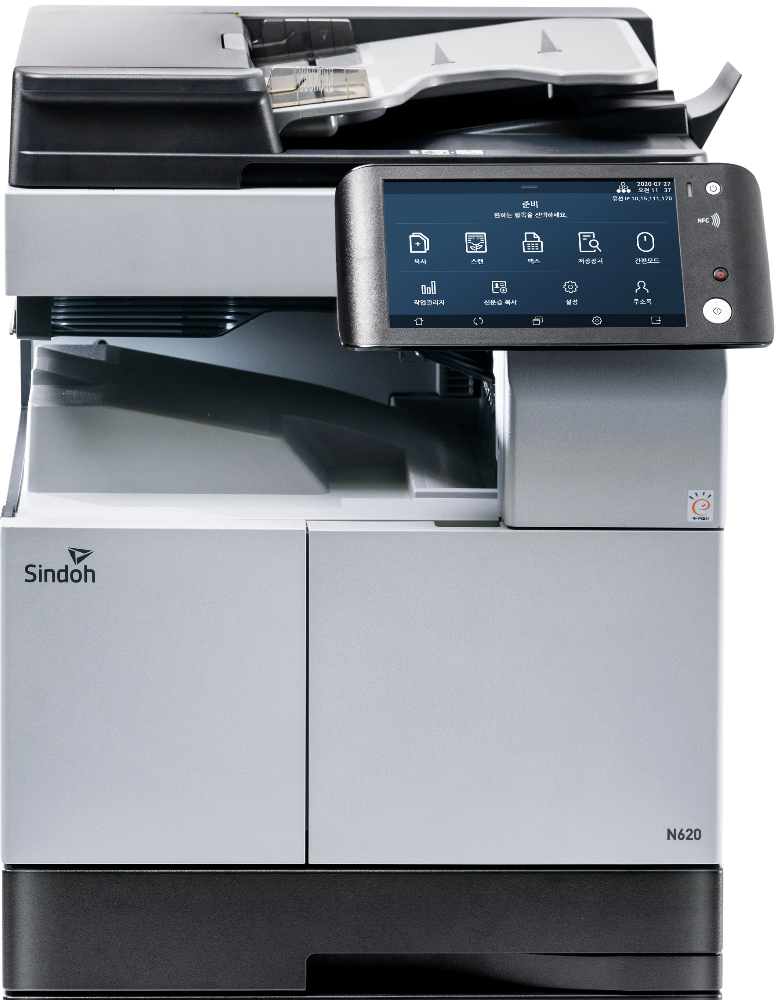
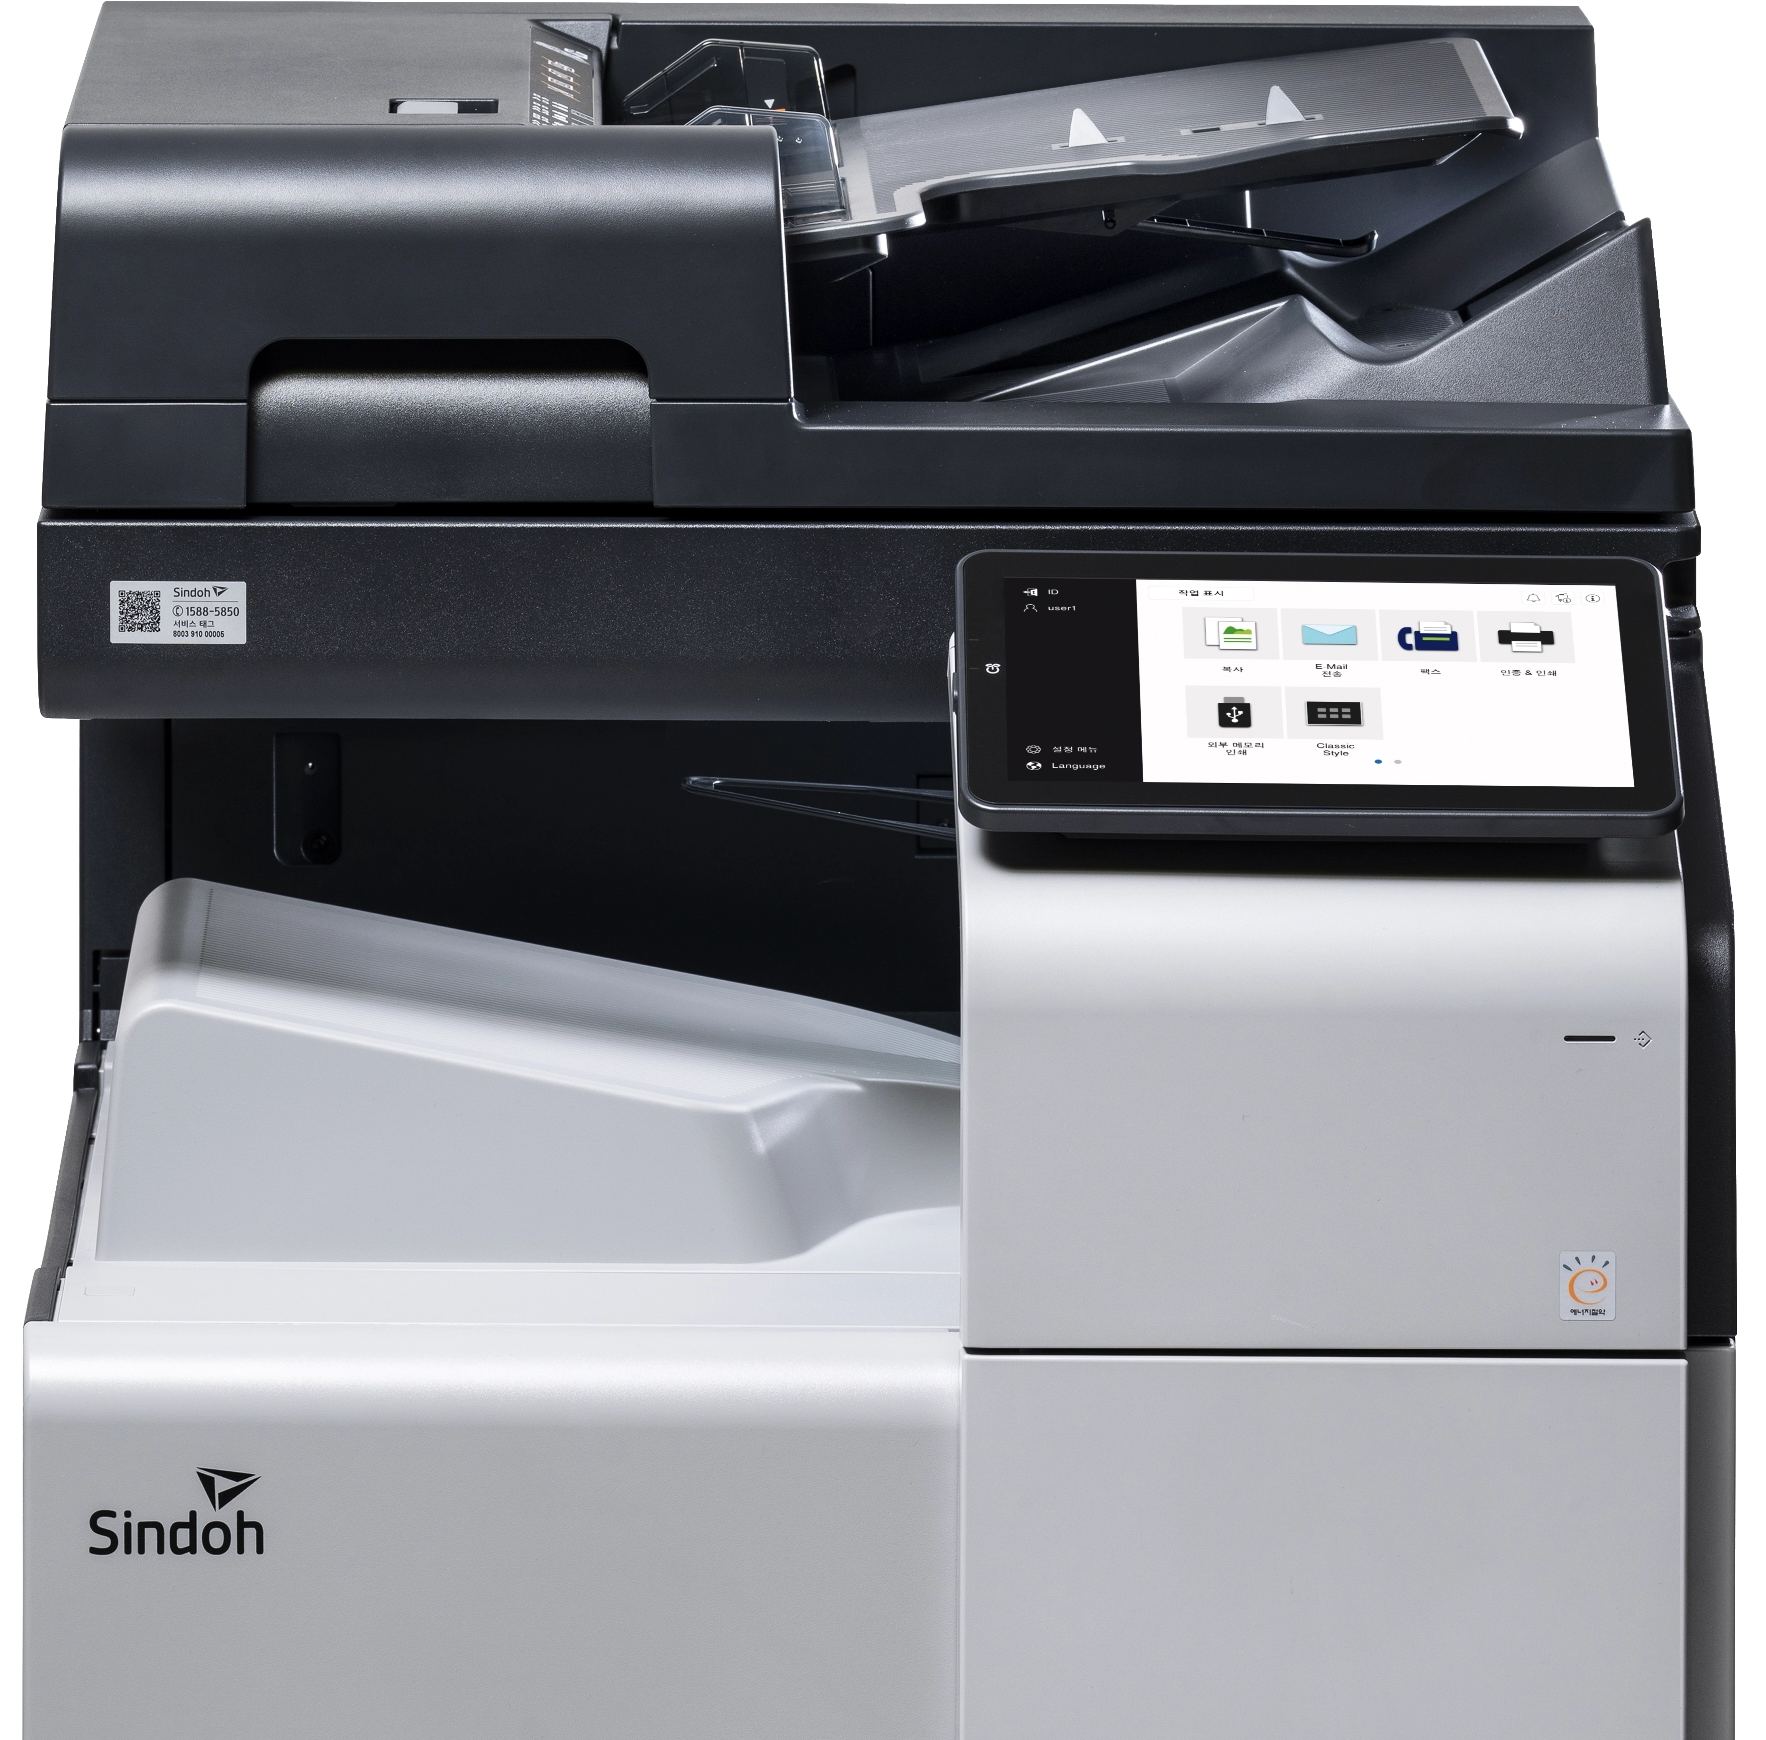
PRODUCT
N620
A3 흑백 디지털 복합기
우수한 출력품질과 내구성으로 업무효율을 높여주는 솔루션 복합기
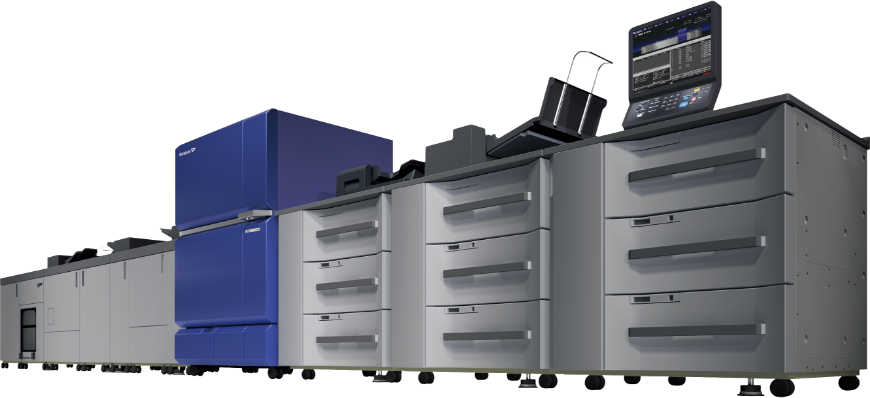
PRODUCT
D450
A3 컬러 디지털 복합기
강력한 비즈니스 퍼포먼스를 위해 편의기능을 강화한 고해상도 컬러 복합기
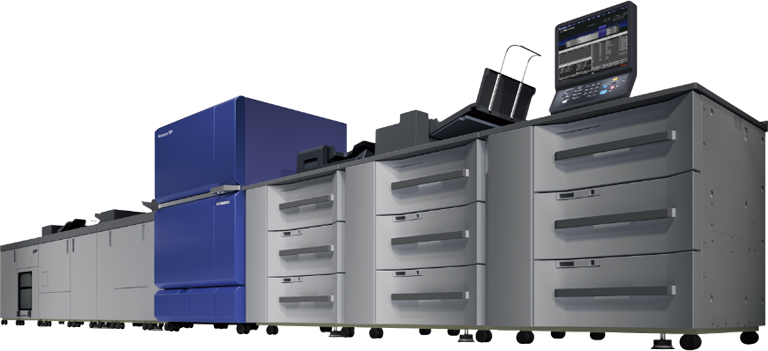
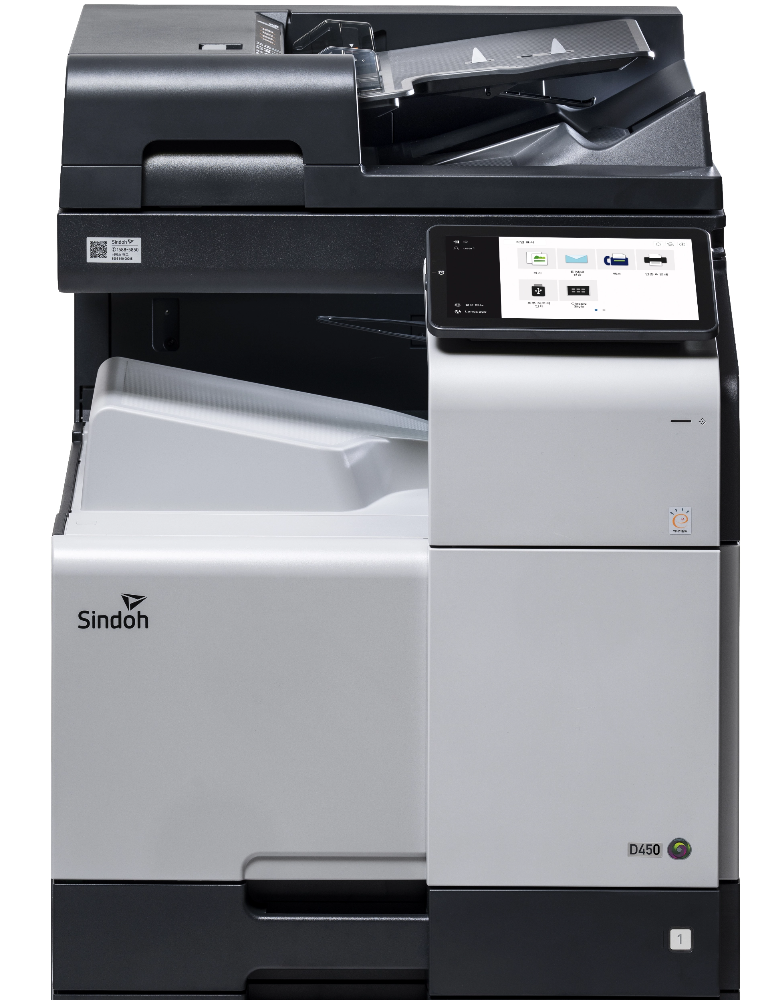
PRODUCT
D450
A3 컬러 디지털 복합기
강력한 비즈니스 퍼포먼스를 위해 편의기능을 강화한 고해상도 컬러 복합기
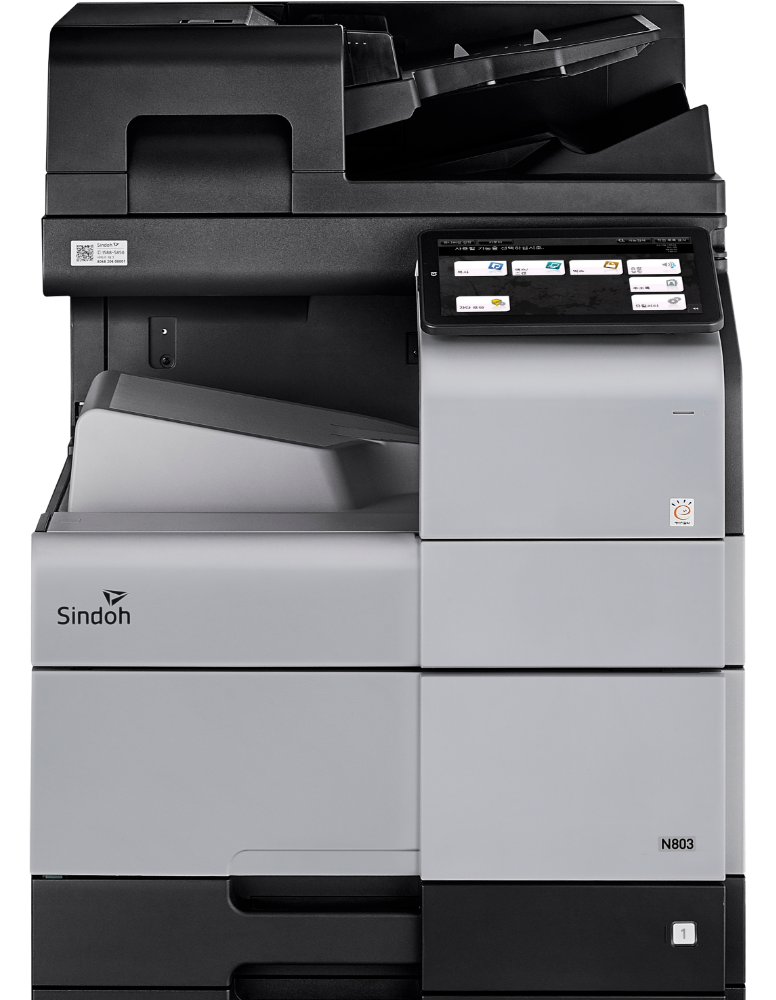
PRODUCT
N803
A3 흑백 디지털 복합기
다양한 업무환경에 최적화한 스마트 솔루션을 갖춘 고속 흑백복합기
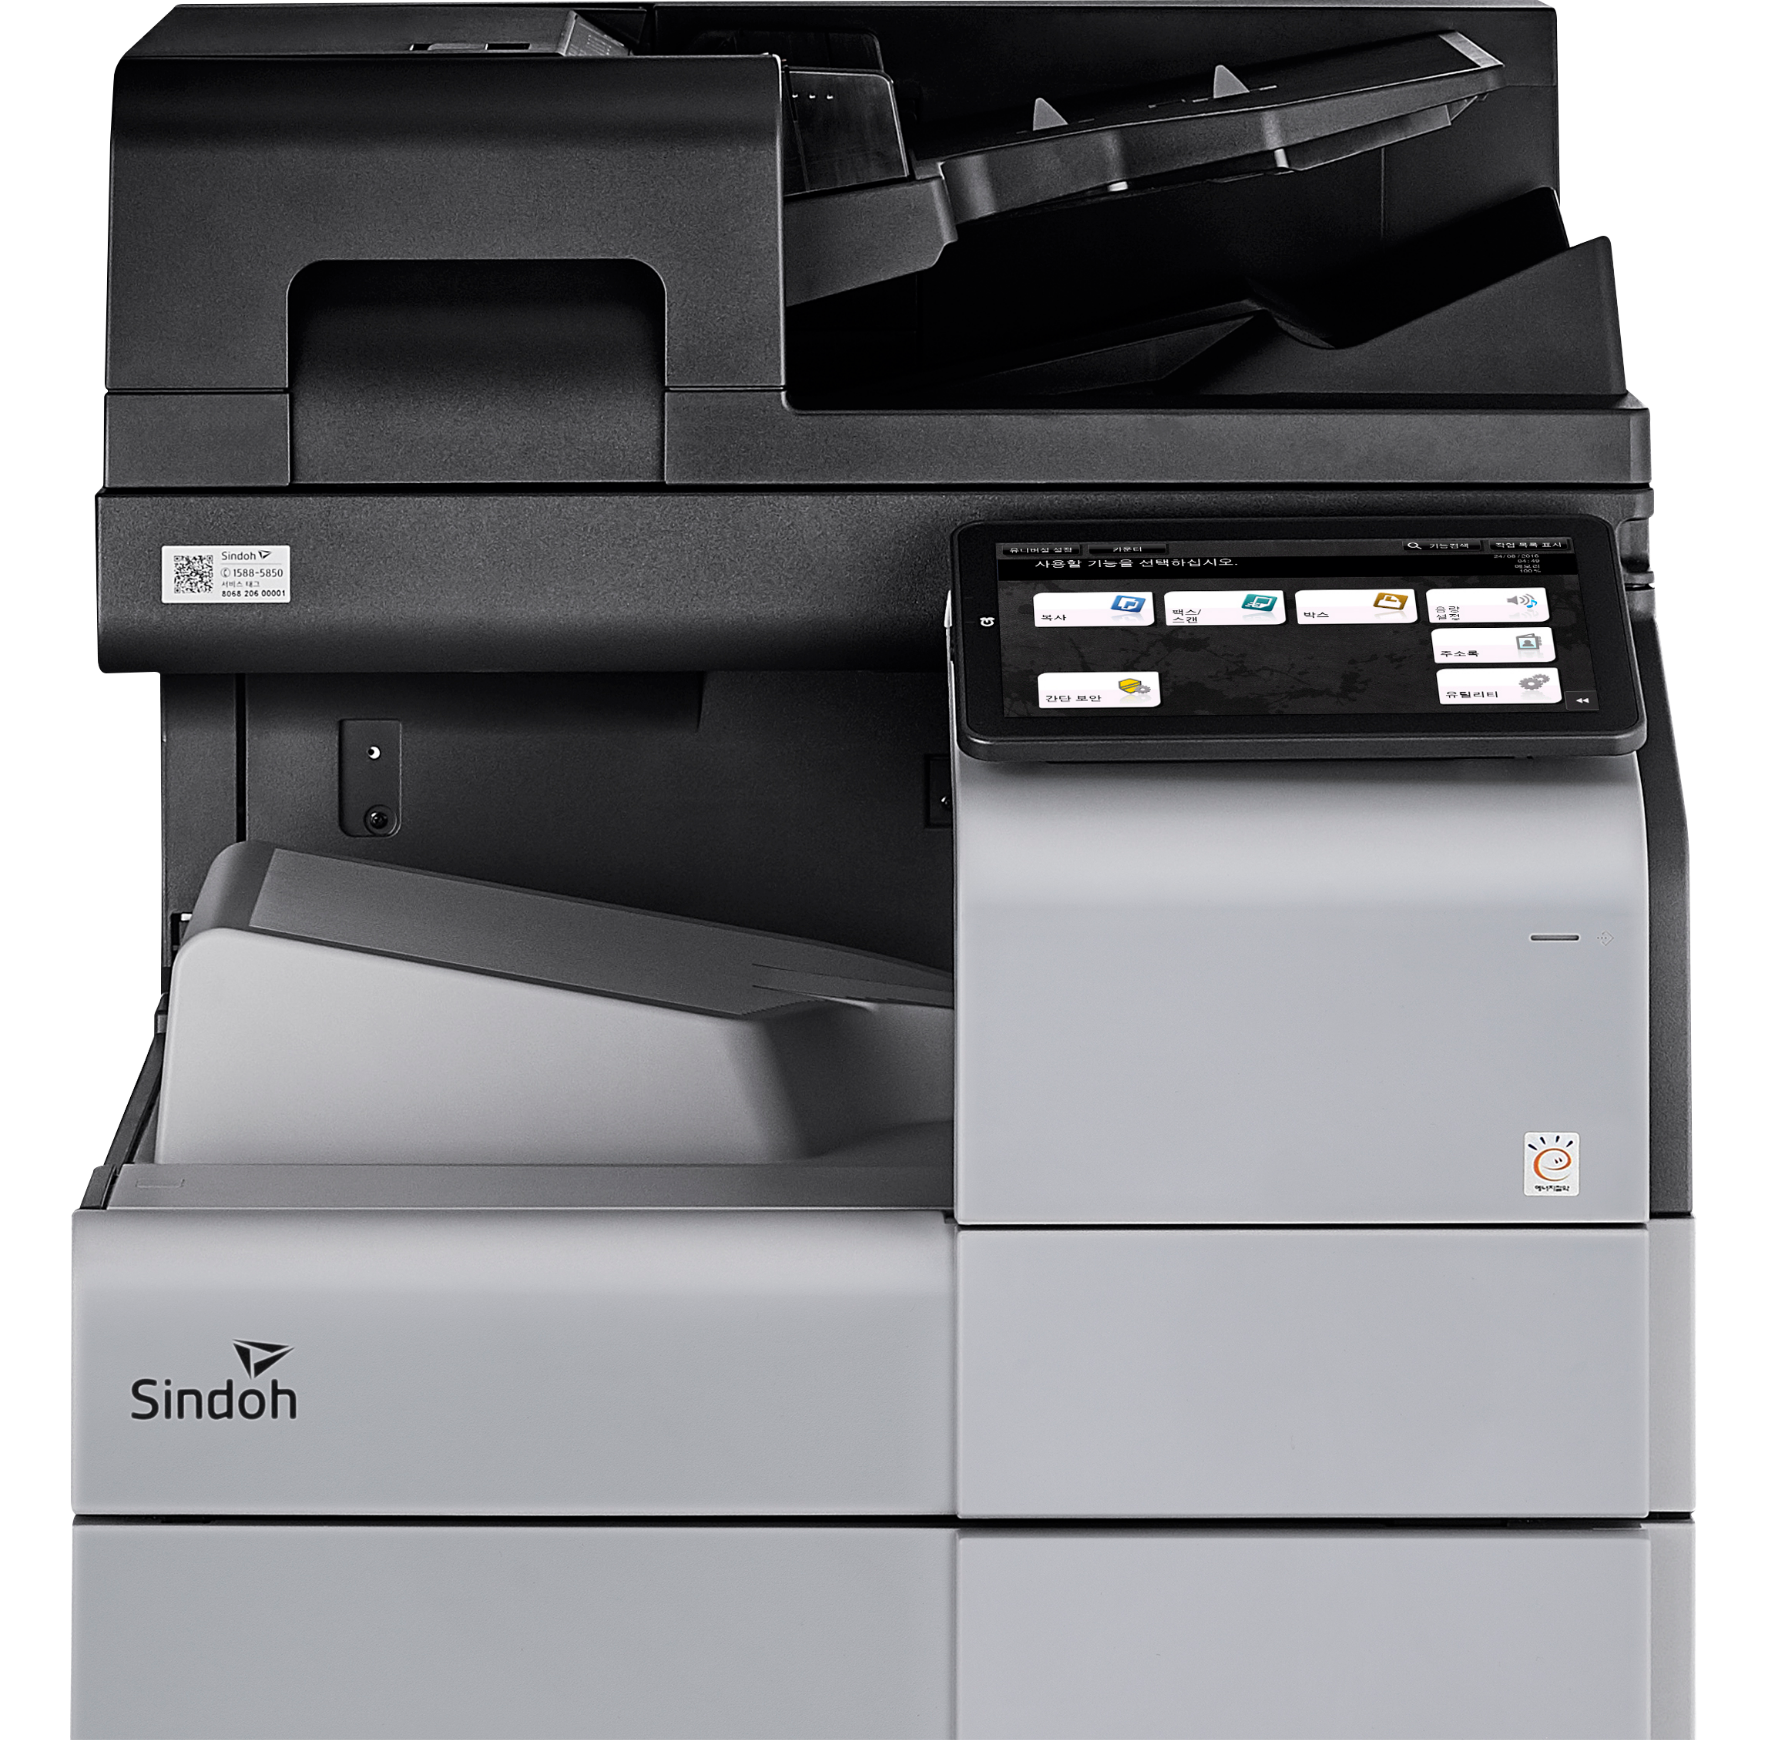
PRODUCT
N803
A3 흑백 디지털 복합기
다양한 업무환경에 최적화한 스마트 솔루션을 갖춘 고속 흑백복합기